
I used a mix of power tools, old school hand tools, and high-tech RepRap 3D printers.
A Stereoscopic Photo Essay…
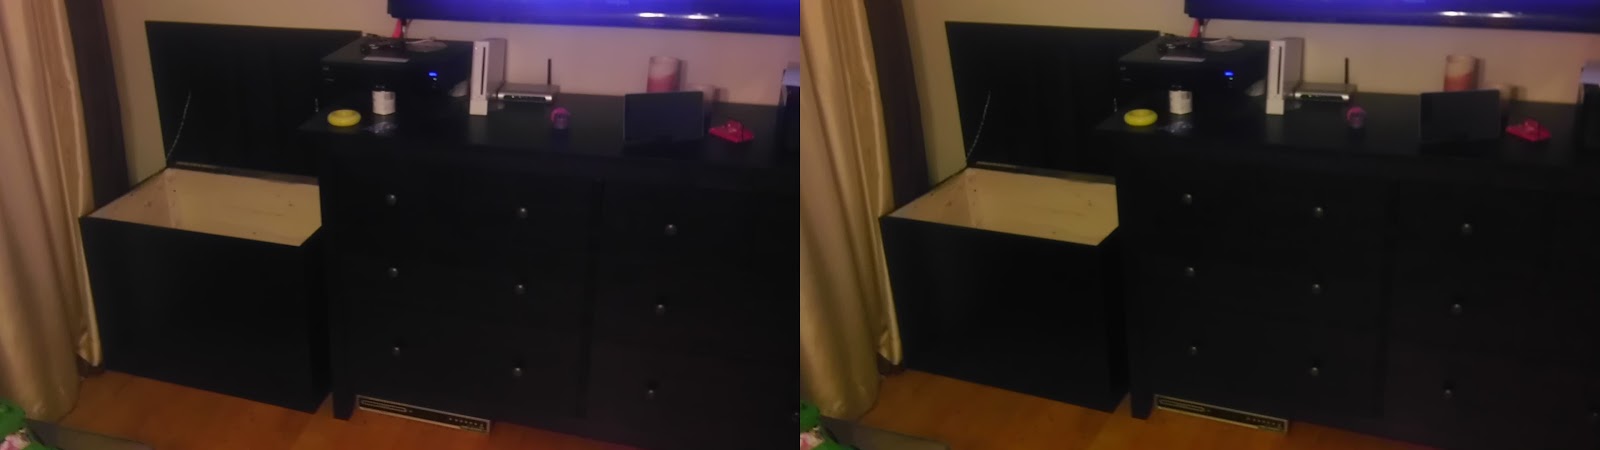
I made a custom toybox to match our IKEA flatpack dresser that we use for a TV center in the living room. It’s designed to look similar, but not exactly the same.

Bella was happy to help move the wood on the cart.

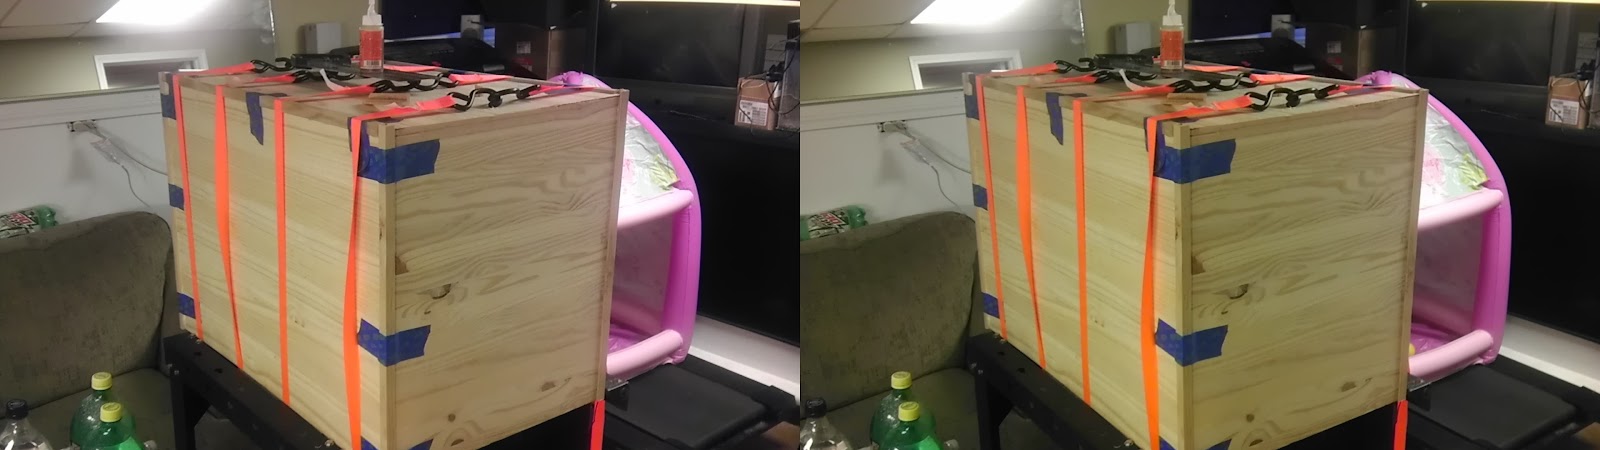
Bella helped with the straps.

She loved that dad was making a toybox with ribbons.

The bungie and rope is a neat trick. You can open up the corners to glue them easily and it all holds together nicely.

No worries, I will just print another.

See! More corner clamps in the making. I love my 3d printer.

The first model in black, and the ones sized for my straps are in green.

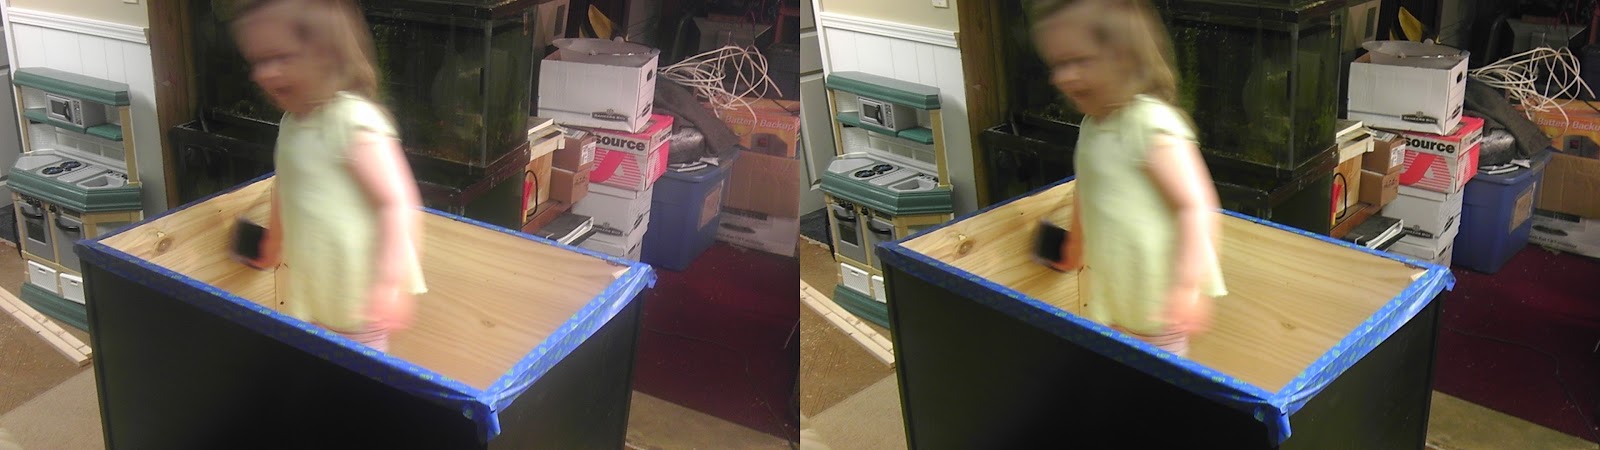
Installing the edge trim. Clamping it a lot, but lightly. The tape held the trim on until I could strap it.
The side edges went first, as they are what’s most visable, then the long bottom edge, then the short bottom edge.
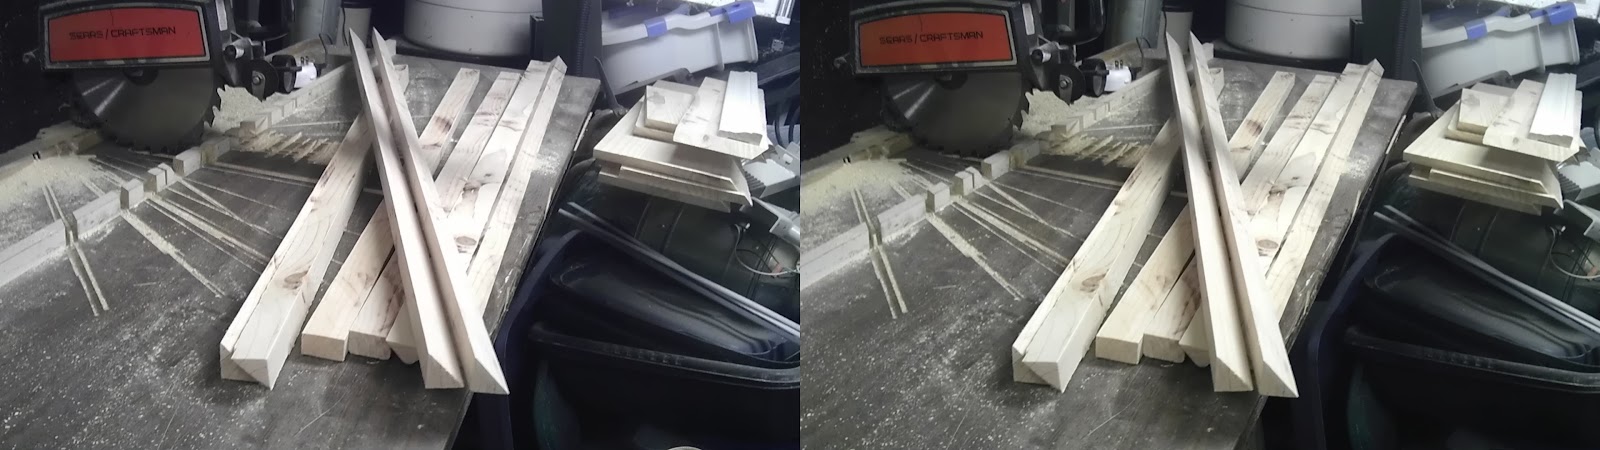
I cut some interior nailers and reinforcing ribs.
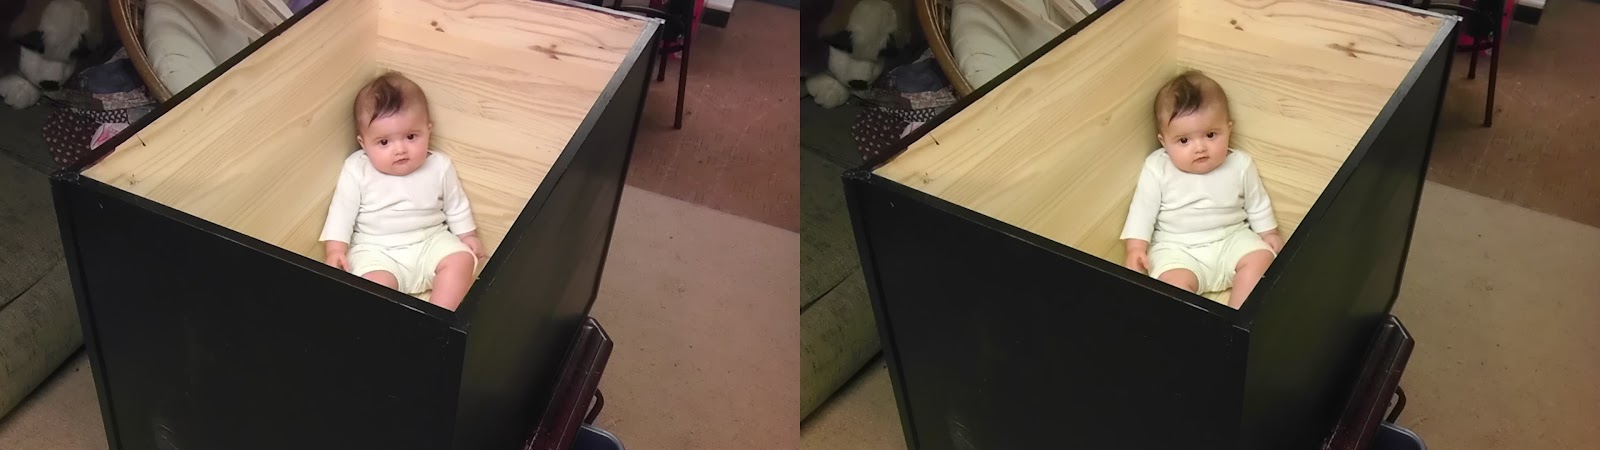
Julie wanted to help. She’s inspecting the inside for me.
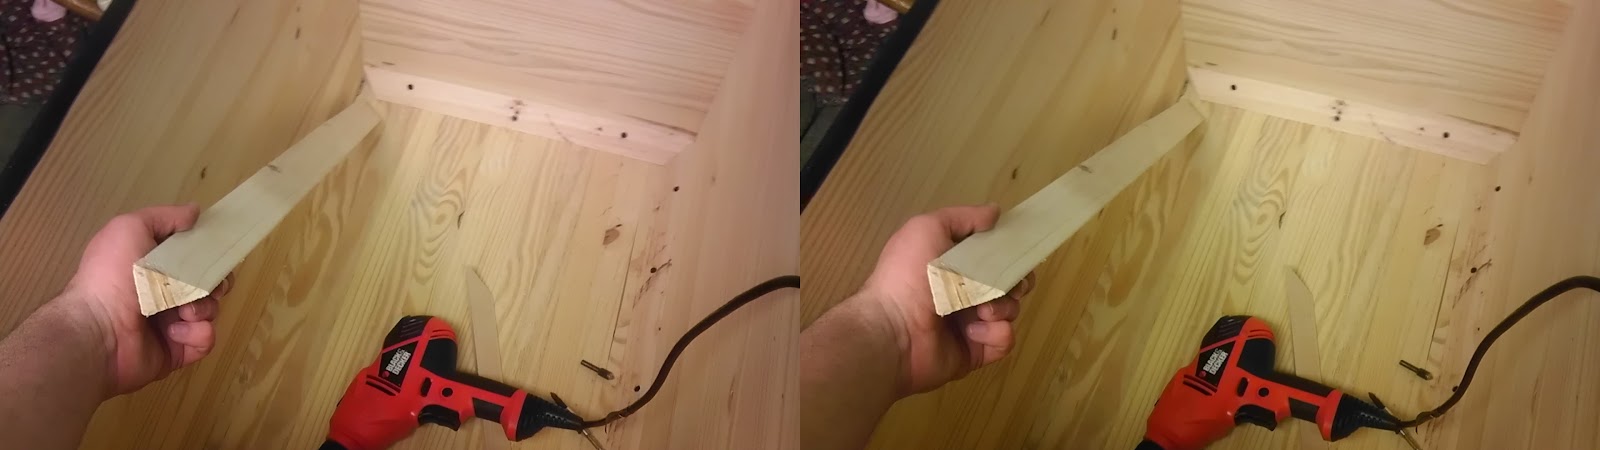
I used a cheap plastic miterbox to do all the angled cuts for this. Much quicker than running out to use the radial arm for every cut.
Bella wanted to help sand the inside. And I used masking tape for masking. Amazing, considering I got this roll for my 3d printer for PLA printing.


I made a toybox for the living room http://t.co/TUDL4BbSal