
Mike Creuzer was tagged in Mike Creuzer's album.
In album Isabella’s Second Month

Fire by friction is hard. Building a bow drill set is fussy, exacting work with a hatchet. My aim is much better than it used to be thanks to my blacksmithing practice. The knife I had with me is much to small for this type of work.
I got a fire lit! There should be a video posted soon by the guy who was teaching me today.

Fire is so pretty.

You really learn to appreciate fire when you make it by rubbing sticks together.

You really appreciate a lighter after spending 6 hours to make a fire.

This is the fire set. It’s designed to have the tinder bundle placed down inside at the bottom, and the whole thing goes WHOOSH when you get the fire going. This is a bit spindly, but it worked great!

My hand-crafted bow drill set. I did most of the work with a small hatchet.

On our way out, after dark, I saw something glowing on the ground. When the camera flash went off for this photo, we saw it was some rotten wood. Luminescent Fungus! Stuff you read about in books, it actually exists!

This is my setup to build a fire with a bow drill. The parts are on the left side, the fire set is in the middle, and taking a shoe off helps tremendously!

This is the tinder bundle. It holds the coal and produces the flame. It’s dried bark bits, grass, and some cattail fluff.

This isn’t me. He is showing me how to seat the parts. There is a lot of doing this.
I am not counting the weight of the shovel & long rope I ended up using to secure it – those don't go into the backpack.
army wool blanket 1677g 59oz 3.7lbs
grey wool blanket 1578g 56oz 3.5lbs
tent stakes 140g 5oz 0.3 $6
foam pad 251g 9oz 0.6lbs $6
shelter kit 762g 27oz 1.7lbs $25
under quilt 236g 8oz 0.5lbs $15
hammock 571g 20oz 1.3lbs $25
total 5215g 184oz 11.5lbs $77
The wool blankets obviously aren't UL gear. Both where given to me, so I won't complain. The one was my grandfather's service blanket. The other one is a Harbor Freight packing blanket that I am working on water-proofing with lanolin. I use this blanket a lot in the fall/winter/spring with the bushcraft sessions I teach & attend. The grey one is too small for me to roll up in properly, and the other one has too much sentimental value for me to be rough with it in the woods.
The shelter kit has the ropes & cordage, snap-clips, clear window-shrink-film tarp @165g, an unused space blanket tarp I made from 2 cheap mylar blankets taped together and added tie-outs @121g, a unused window-shrink-film tub floor @114g, and the bug net & bug head net. It's intended on being a complete set for sleeping on the ground that will also work with the hammock.
The underquilt I made from a mylar space blanket and some bubble wrap. I added tape tie-outs like I do any cheap plastic tarp, and taped on the bubble wrap. The concept is that the bubble wrap has it's own convective & conductive insulation and it enforces an air-gap so the space blanket can provide the radiative insulation. It's just a prototype, and it works very well. I think I want to make one specifically shaped for use as an underquilt, and maybe one as an overquilt as well – or just use the curent one for that.
I want to switch from the mylar blankets to heat-sheets. They would be much quiter, less prone to cataclysmic failure, and I think I can dye the one side a more pleasing color than 'shiney' as they will take printer-ink.
I did have 2 of my tape tie-outs let go on my window-shrink-film tarp. I had the tarp strung up tight for a couple of weeks before the tape started letting go after some heavy storms. The plastic wasn't damaged, so it will be trivial to replace the tie-outs. Longer tape in the corners I think will be the solution. I may look at doing larger patches to make that stick better. I need to pack a few feet of the trimmed up tape to make replacement tie-outs in the field. I am also wondering if some of that new Rustoliem water-proofing spray could be used to keep the water from seaping under the tape and causing it to let go.

Almost finished. The space in the frames with the sconces is getting painted the same color as the rest of the room. Crown molding and painting my baseboard.

Finishing up the prep work. Washing, taping, moving furniture.

Toy box lid is up, hiding so much of the hard work.

One coat on.

That TV is heavy. I remember the days when cheap junk was lighter weight, not heavier!

Almost got the first coat.

This is the before photo.
Got down to 52 degrees overnight, just above the dew point. I had 2 wool blankets. Rolled up in one and had the other on top. I got chilly.
I am loving the new amsteel rope. The tent pegs I have aren't big or heavy enough to stake a shovel out.
For the next night in the hammock, I am going to break out my bubblewrap & space blanket underquilt. I've done a 6 degree night with that and a few blankets this last winter. Need to figure out what's working and what's not working so I know what's worth stuffing into a bag.

My hammock in the back yard, don’t pay attention to the mess. The potted Citronella is VERY important – I moved it there to help keep the bugs down.

Using a shovel as a hammock stand. It worked alright once I tied the handle to the deck (red rope). The orange on the ground is an extension cord for my phone charger.
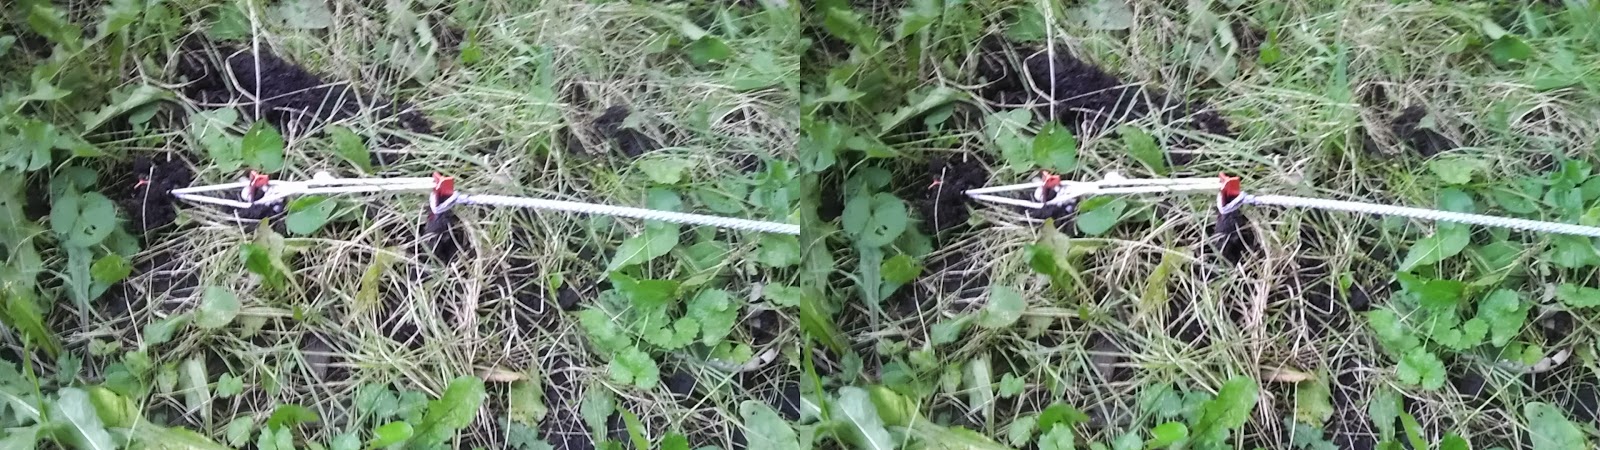
daisy-chained the stakes hoping they would hold the shovel. They did not.
I am now a big fan of a larks head knot and a toggle.
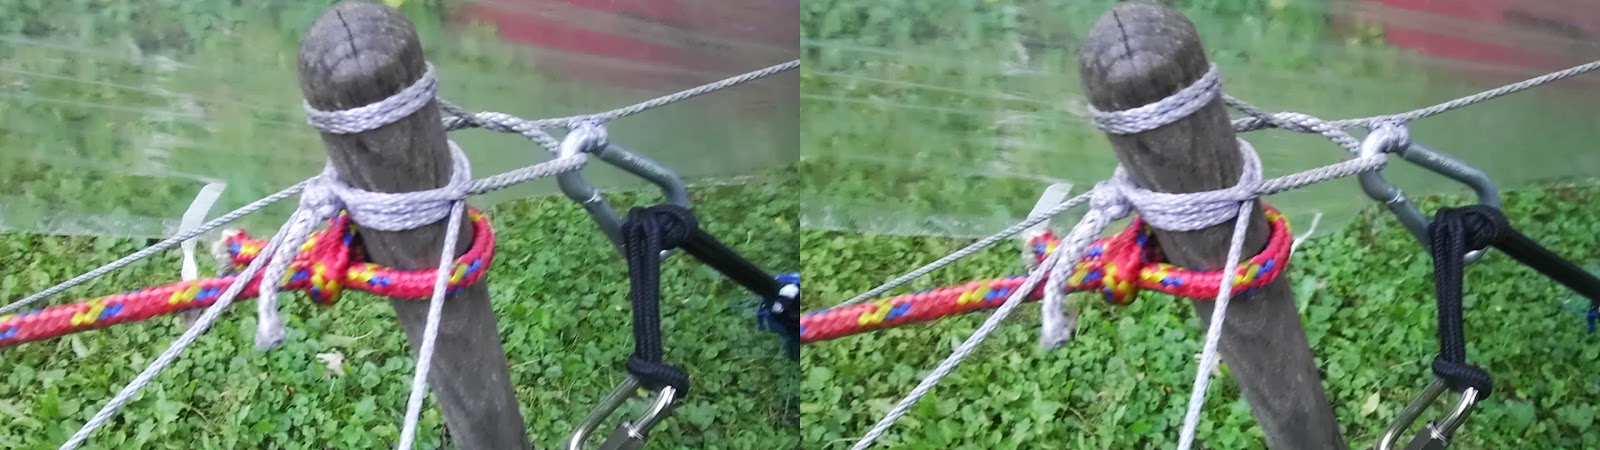
The clove hitch kept wanting to slip, so I had to add a soft shackle to keep things in place

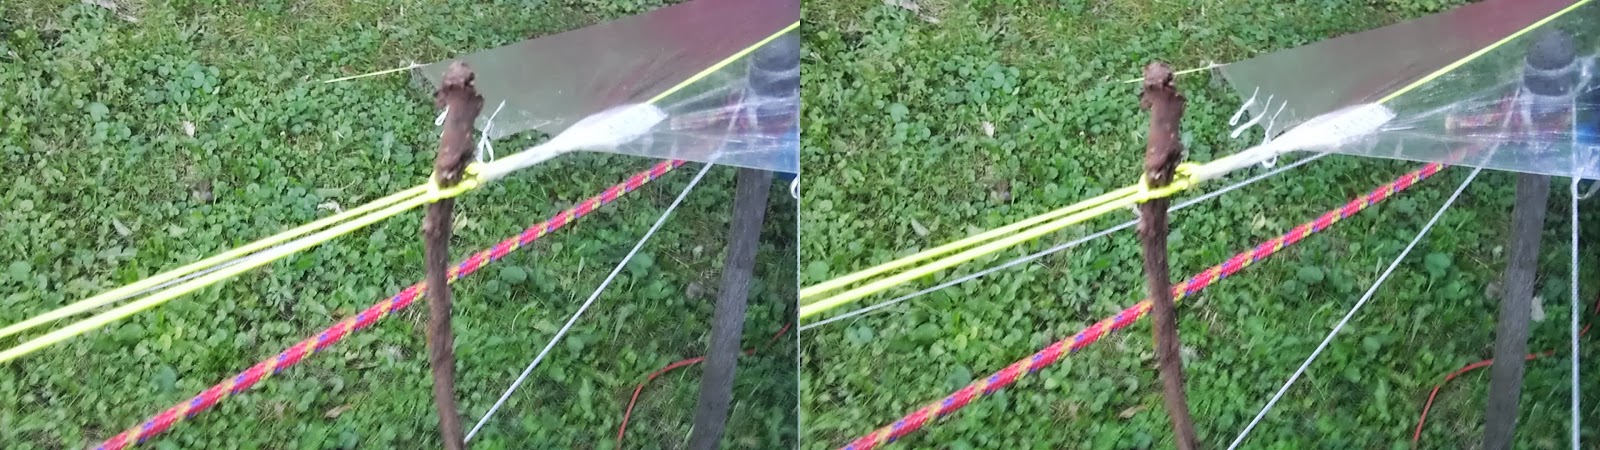
The ability to easily adjust the tension on a tie-out is awesome. Hey, look, a larks head and a toggle. So slick!

The clip makes it easy to hang and adjust the tarp.
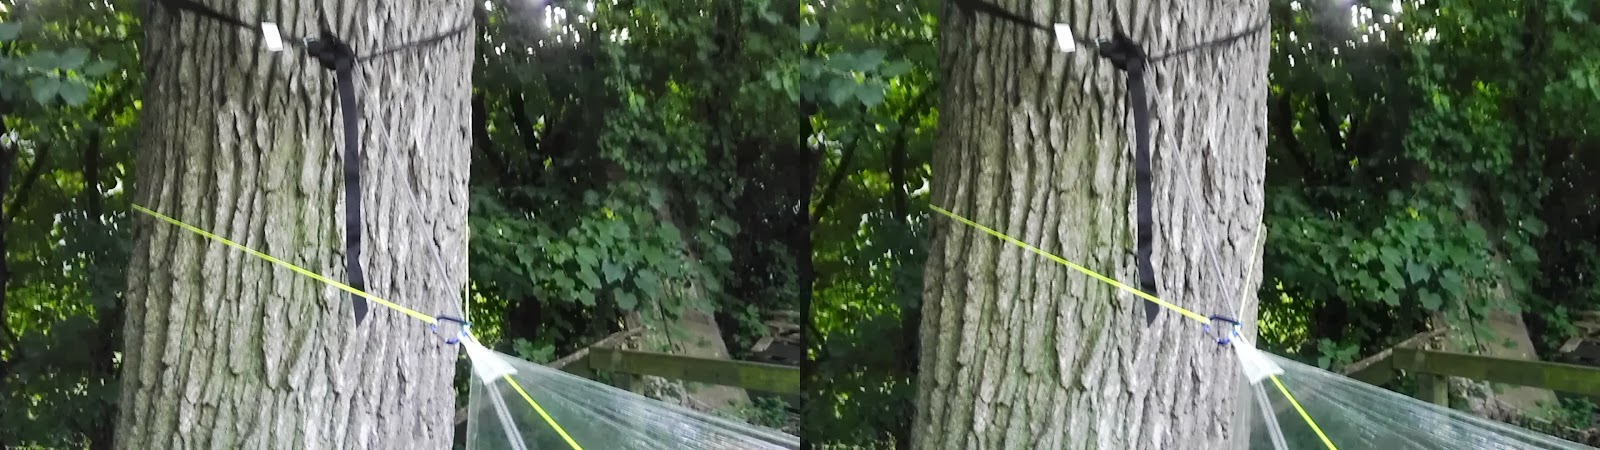
The hammock hangs quickly too
I am using a rake to hold the tarp on the shovel side. Use what works, right?