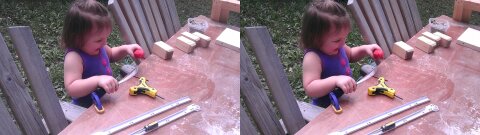
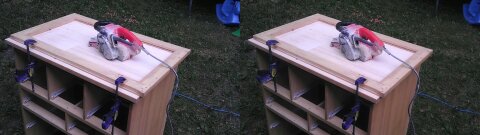
It's been about a year since I picked them up. Katie had to come out and kick my butt to work on it. We need to get it done so we can move dressers around so the kids have the ones we currently have in our bedroom.
Its a lot of work to sand the old finish off of the Ikea dressers. Its going to be worth it!
I need to get the stuff on and off of the trailer.This picture is what I dreamed up.
I think it's called something like a shear leg crane or somesuch.
The trailer can only hold 1200lbs, so it doesn't have to be too heavy duty. The crane frame components would be part of the side boards when not in use. The wood would be used compressively, which is how they are strong. The boat winch is the item that would take all the strain, so I need to check into how strong that is.
The boat winch is something I have already on the trailer at that location.
I'd just need to get the chain lift part. Maybe a cable come-along?
The crane end should only go to about even with the trailer tires. I will probably have a couple of ropes to enforce that. If it goes past it's center line, bad things would happen.
Anybody build something like this before? Anything I should know about my idea.
I printed a large Yoda < http://www.thingiverse.com/thing:12288 > for a coworker in white PLA. Aspects of it make this my best print yet, and yet it looks pretty bad in some ways.
First, it took 3 different slices and about 10 starts before I could get Yoda to stick to the bed. Lots of issues, too fast, not close enough, etc. All part of the learning curve.
Yoda wouldn't let go of the bed! I ended up breaking the glass to get him off.
The people over on the Makergear IRC channel helped my identify one of the print quality issues as Z wobble. This would be the notched or groovy look that is much bigger than the individual layers. And sure enough, I have a bent Z rod. I knocked the bearings off of the bottom of the Z rods to help let them wander. But the long term solution is new rods that are straight.
A fun print, as always. And showing me that I don't have my printer dialed in yet.
Blurry shot, but you can see the support under Yoda’s right ear. There is supposed to be some under his left ear as well. It only stuck for about 5 layers and then got knocked loose.
The support material didn’t print so well for half of what was suppose to print. Like under his chin and left ear.
I broke my glass trying to get Yoda loose. When I finally got him to stick, he REALLY stuck!
Prying glass shards loose.
Yoda in all of his Yoda Yodaness!
All the little warts are from when the support material that was suppose to print didn’t have a place to go and stuck onto the nozzle and got cleaned off as the nozzle entered the printed space again.
15 minutes to print the left one, about 8 hours to do the right side.
The lines you see are from my Z axis wobbling. The grooves match my threaded rod.
Still a hole in his head. .1 layer height needs more layers to get a clean top surface it appears.