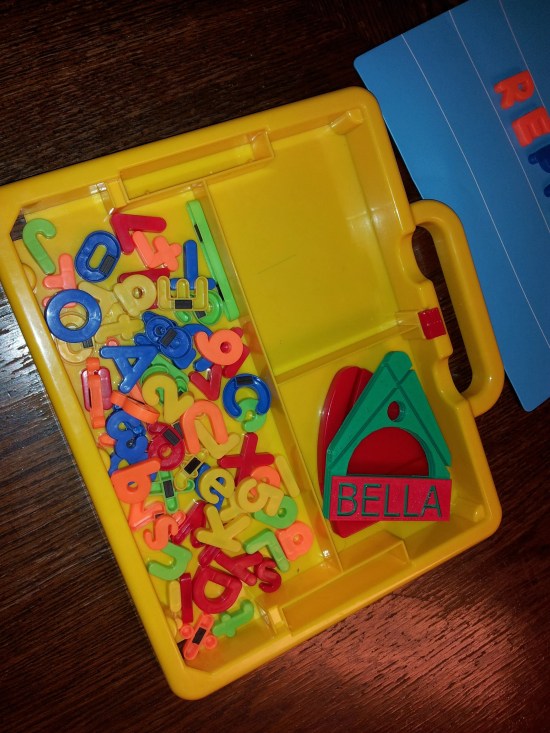
I got a text today saying Bella needed a part for one of her toys printed.
This got me pretty excited. My 3 year old is developing problem solving skills. It’s not that Dad will fix it, but what tools he will use too.

So we decided to make a new part for her toy. I suspect that the missing piece is somewhere in her toybox, but I just HAD to reinforce to that adorable little girl that she can make stuff herself.
We sat down in front of the computer with the part she had and a ruler and a tape-measure and a calipers and drew the part in Sketchup.

It took a little while, but we got it all measured and drawn. The new part is ambidextrous.

Once we where happy with the model, we customized it. We added her name and some shapes. I did this as I am low on plastic and was afraid that it wouldn’t print due to running out. Knocking out areas uses less plastic. Also, it let her customize the part.

I sliced and loaded the file, pre-heated the printer, and let her push ‘Print’.

The printer is so much fun for both of us to watch.

She was quite excited when the printer started to print her name. She can’t read yet, but she does recognize letters.

This was my first filament hot-swap. It took me about 4 tries before I was happy with the transition. Only about 6 inches left on the green by that time. I think the effect turned out well.

Who makes toys with soo many pieces to loose? Oh well. I am going to need to buy a box of small magnets so I can print more letters in the near future.


I think this was a good father-daughter building and bonding experience.


Leave a comment