
 Well, the Kayak is starting to come together. I am getting some of the aluminum brackets cut so I can start assembling the pieces. I am leaving many of the pieces fairly rough for assembly, and once I like how the whole thing comes together I will clean them up.
 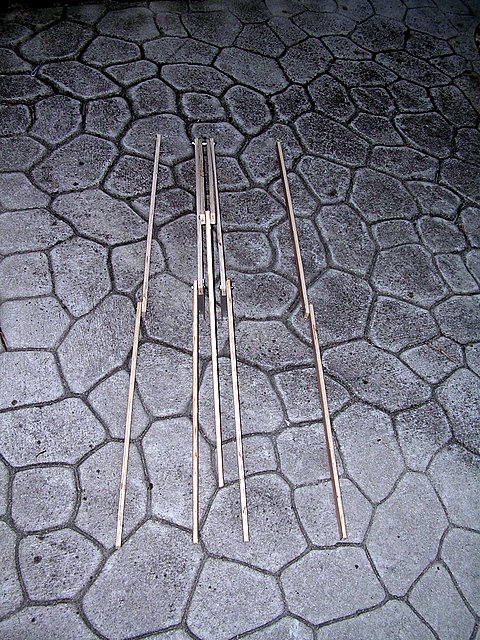 It looks like I got the wrong kind of bolts, so I will need to replace the ones I used with the right kind. I need flat head screws and not pan head screws. The flat head screws can be countersunk and recessed into the pieces so that they don’t hit each other when folded up.
  I need an old bicycle tube if anybody has one laying around. It will be kinda strange to buy one, just to cut it up. The far ends in the picture get held together with a chunk of rubber cut from the tube. Pretty clever.
 Maybe by next weekend, I will have the frame fully assembled. I can then go and tweak the design, and finish each piece.
